Linux as a Virtual Environment
Prerequisites for the installations
- Download VirtualBox.
- Install VirtualBox.
- Download an ISO image of a Linux distribution.
- Latest Ubuntu Desktop 19.10
- Latest Ubuntu Server - 19.10
Why Linux?
- All the major players use it.
- Hosting provider server count
- Netcraft web server survey
What is Linux?
- The kernel
- The Operating System - thousands of programs
- The Distribution - a group effort

Linux Distributions
What is BSD?
What are Linux distributions?
- Collection of packages
- Linux kernel
- Editors
- Web server
- Database server
- etc.
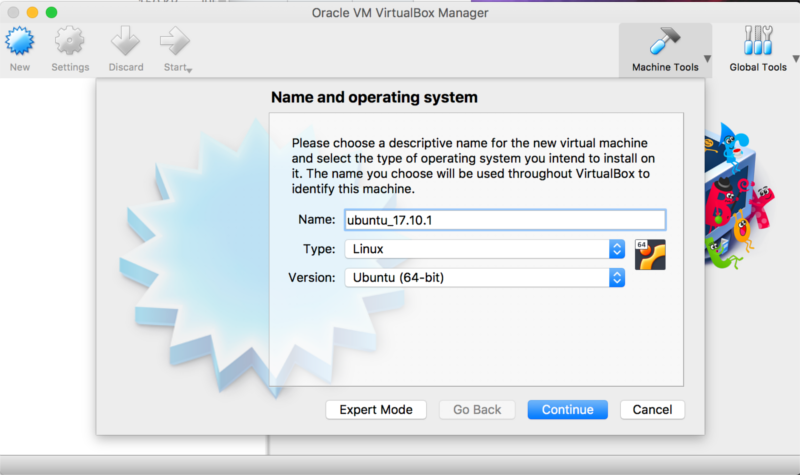
Configure Virtualbox
- Open VirtualBox - Press the "new" button on the left
Configure Virtualbox - 2
- If you type in the name "ubu" it will setup the type to linux and the version to ubuntu 64-bit for you if not, you can do that yourself.
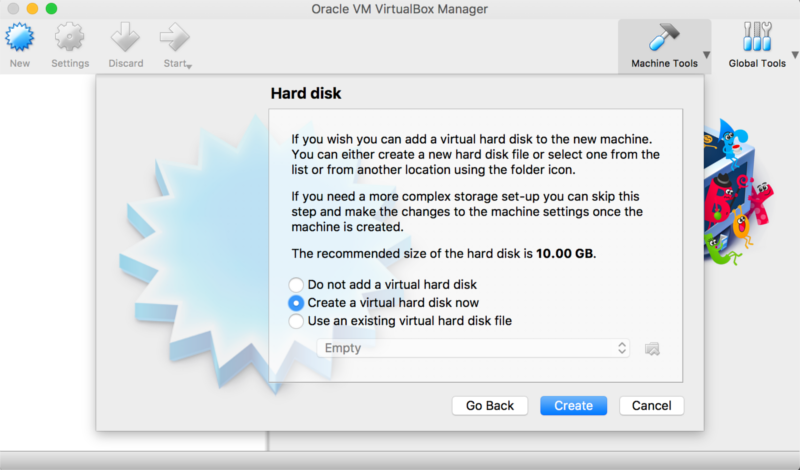
Configure Virtualbox - 3
- Continue the setup with the values VirtualBox is suggesting for you.
- Memory size: 1024 Mb.
- Hard disk: Create a virtual hard disk now (Recommended size is 10 Gb).
- Hard disk file type: VDI (VirtualBox Disk Image).
- Storage on physical hard disk: Dynamically allocated.
- File location and size:
ubuntuis fine. 10 Gb.
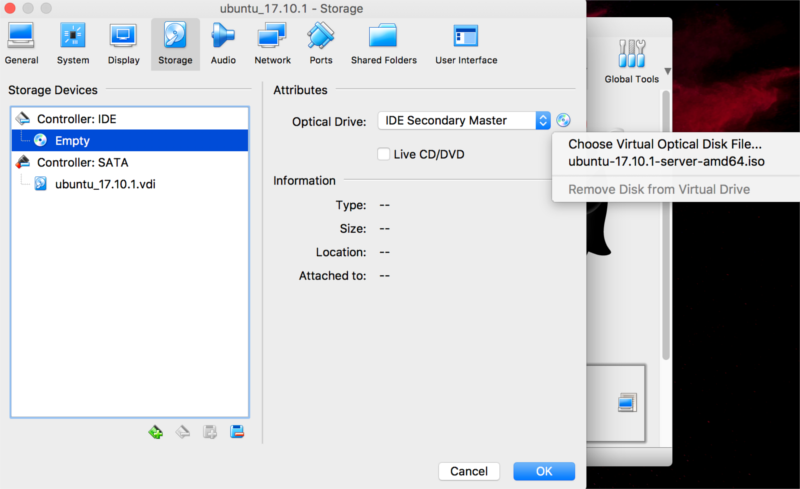
Configure Virtualbox - 4
- Right-click on the icon of your new server and select "Settings".
- Select the "Storage" section.
- Click on the "empty" CD icon and select the Ubuntu .iso file you have downloaded before.
- After saving this setup you can click on "Start" to launch the new Linux machine.
Set up Linux
- Start the installation of Ubuntu - Select the defaults
- Your preferred language: English.
- "Install Ubuntu Server"
- Select a language - English
- Your location: "Untied States"
- Detect keyboard? No
- Configure the keyboards: English (US)
- Keyboard layout: English (US)
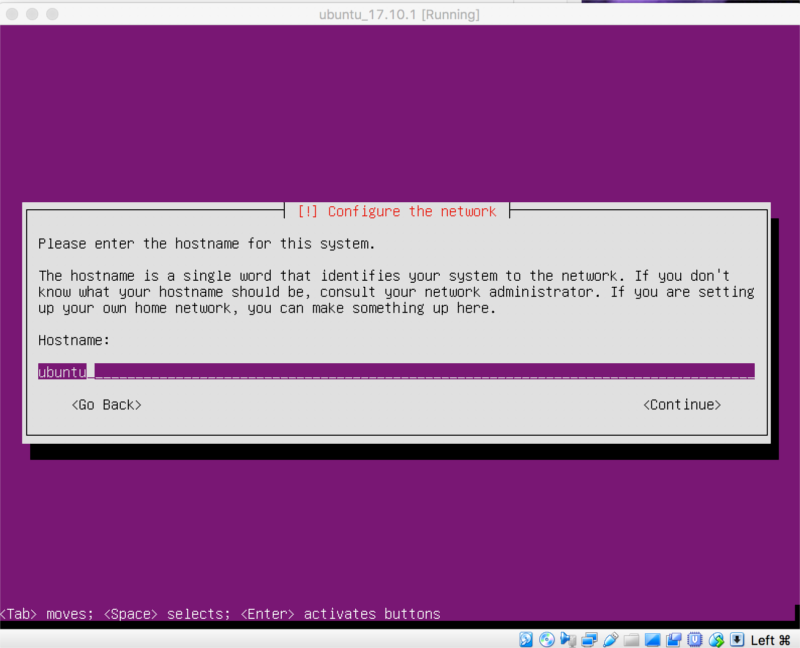
Set up Linux - hostname
- When you get to the hostname section choose whatever you like.
- "ubuntu" is fine for this installation.
Set up Linux - user
- Type in your full name.
- Select a username for yourself.
- Type in a good password. (twice)
- Home directory encryption: No
- Timezone (it decided Asia/Jerusalem for me): Yes
- Partition disks: select "Guided - use entire disk" (no LVM)
- SCSI3 ...
- Write the changes to disks? YES!!!!
- ...
- Configure the package manager proxy (leave it empty)
- ...
- Upgrades of the system: "No automatic updates"
- Software selection: don't select anything now.
- ...
- Install the GRUB boot loader on a hard disk - YES
- ...
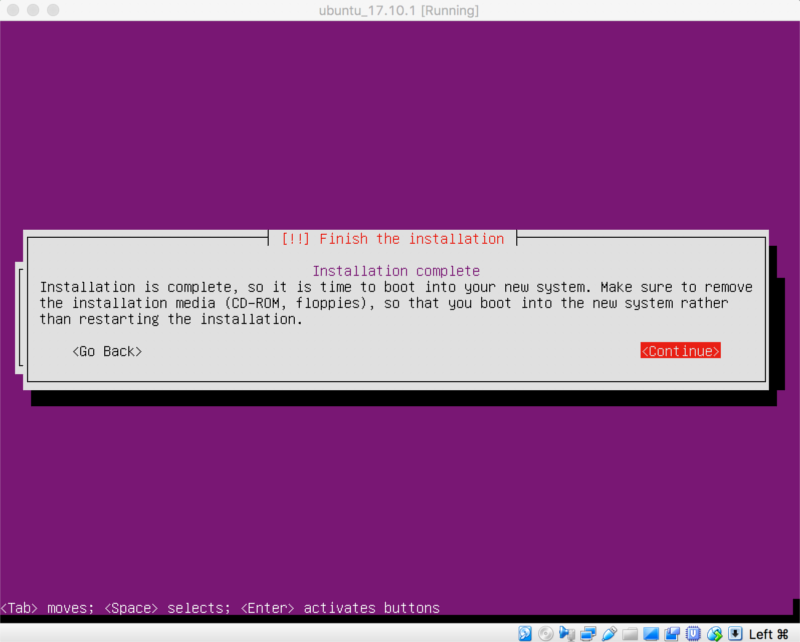
Set up Linux - complete
- When the installation is complete, it will unmount the Ubuntu image we setup at the beginning.
- Continue to reboot:
Linux login screen
- When you are done installing after the reboot the host screen should look like this:
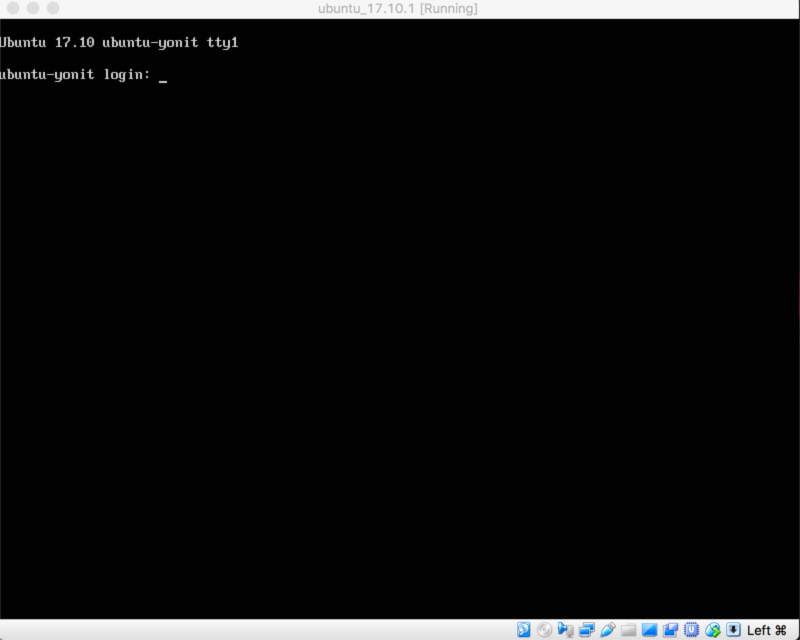
Log in to the computer on the VirtualBox console
- Type in your username and password
Package repositories
- Like an Appstore or Google play just free and Open Source
- yum (.rpm) (Fedora, RedHat, CentOS, ...)
- apt, apt-get, apt-cache (.deb) (Debian, Ubuntu, Mint, ...)
Linux users: you, root, and the sudo command
- sudo
Update deb-based packages
$ sudo apt-get update
$ sudo apt-get upgrade
Nano file editor
nano hello.txt- Write something in the file, save it and exit nano
cat hello.txtwill show the content- edit the file again and save an updated version.
- Check it with
catagain.
Turn off the Linux box
sudo shutdown now -P
- Power off VirtualBox
Log in as a remote machine
What we need usually:
- ssh server
- ssh client (Putty on Windows)
Extra we need for VirtualBox:
- Configure host-only network
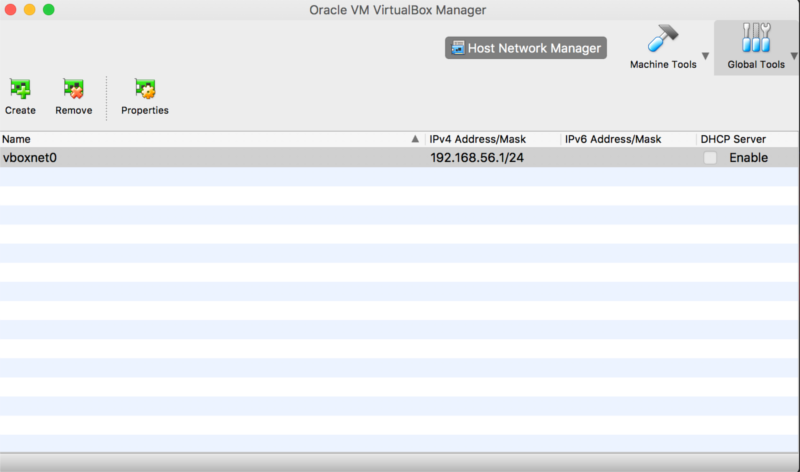
Create Host-only network
- Global Tools - Host Network Manager - Create+ to add one (vboxnet0)
- Might need Windows Admin rights (popup in the background)
- 192.168.56.1/24
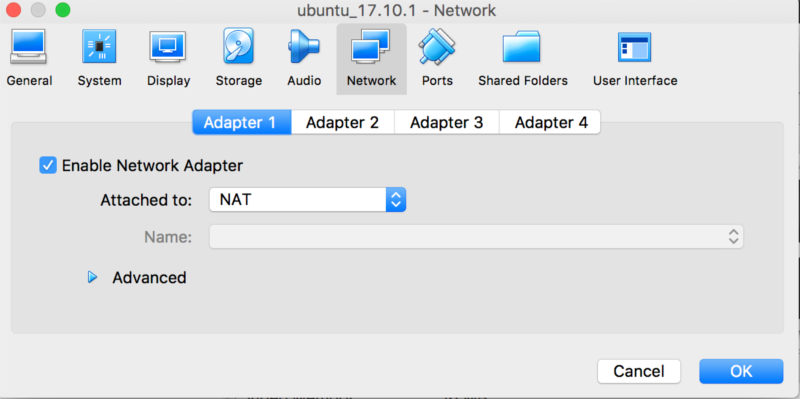
Configure Host-only network - adapter 1
- Machine Tools
- Select your machine: Settings - Network (guest needs to be shutdown)
- Adapter 1 is set to NAT.
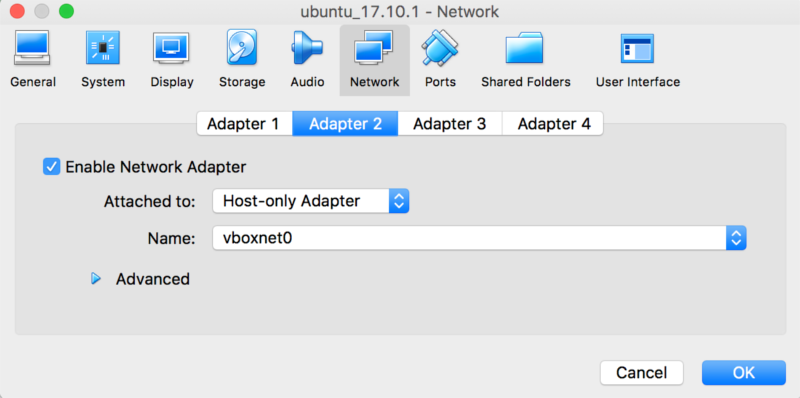
Configure Host-only network - adapter 2
- Click to Adapter 2
- Set it to "Host only" and select the vboxnet0
Configure host-only network on Ubuntu
$ ifconfig -a
$ sudo apt-get install ifupdown
edit /etc/network/interfaces
sudo nano /etc/network/interfaces
and add
auto enp0s8
iface enp0s8 inet static
address 192.168.56.10
netmask 255.255.255.0
-
Run
sudo ifup enp0s8 -
From the Windows Cmd window
ping 192.168.56.10
Install ssh server
$ sudo apt-get install ssh
Try it:
$ ssh localhost
Use Putty to connect to the machine
- Download putty.exe (No need for the .msi file)
- Run it from the download directory or from the desktop
The Linux Filesystem
The filesystem starting at /
Navigate in the filesystem
- ls /
- ls -l /
- ll
- pwd
- cd some/dir
- cd ..
- cd
Create and remove directory
- mkdir
- rmdir
Remove files
- rm
Configuring the shell
nano .bashrc
Install Nginx
sudo apt-get -y install nginx
curl http://localhost:80
The default configuration file of Nginx: is /etc/nginx/sites-enabled/default
cat /etc/nginx/sites-enabled/default
less /etc/nginx/sites-enabled/default
(q to quit)
-
Edit /var/www/html/index.nginx-debian.html
-
Then reload the page using
curland your browser and observe the change. -
Create more pages. etc.
Linux Resources
- Linux for Power users Slides of Gabor
- Linux Ubuntu Tutorial
- Using The Terminal
- Linux Command
- Ubuntu Linux - Tips and Tricks in using Linux